The nursery has been painted, the clothes are folded and put away and even the baby’s name has been picked out, but your creative juices are still flowing. Making space for a baby is both an exciting and overwhelming time for an expectant parent. Just when you thought that last picture frame has been placed on the wall, another idea pops into your head to make your nursery as special as your blossoming little one. From that specialty wallpaper to the crib’s bedding, putting your little one’s nursery together is rewarding work. Of course, it can always be made better with a one-of-a-kind item, like a homemade display of your baby’s name. These five processes will ensure that your baby’s name is in the spotlight (as it should be) and that your DIY nursery is your new favorite room in your home.
Make It Multifunctional
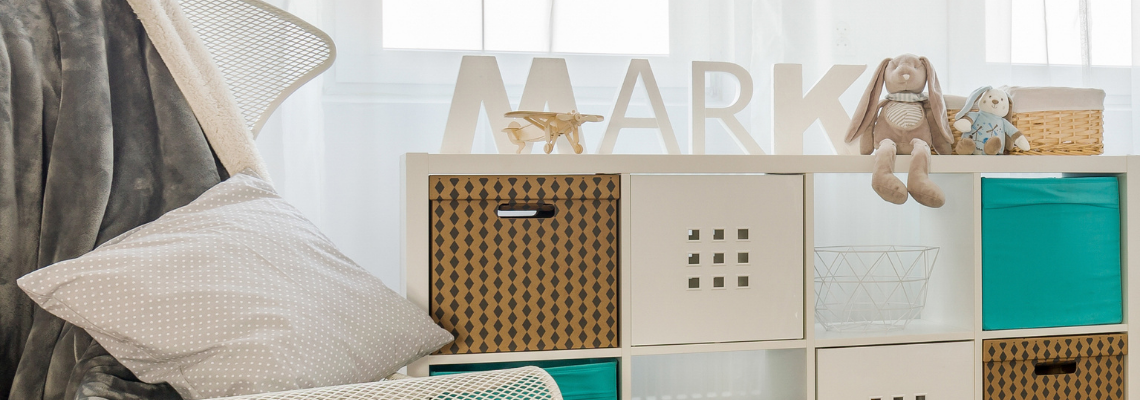
Space is often a crucial factor when planning your nursery. From ensuring there’s enough room in the closet to putting the stuffed animals in their appropriate corners, space always seems to be limited. Well, that’s when you take to the walls and make use of shelves while concurrently displaying your baby’s name.
Simply begin by getting a shelf with enough overhang on the bottom to fit the name (usually 24 to 42 inches will provide enough space). Next, grab some wooden crafting squares with one-inch sides and paint them to fit your nursery’s color scheme. After that paint dries, either trace or write the letters of your child’s name. Finally, glue these blocks to the extra space at the bottom of the shelf.
Add More Picture Frames to Your DIY Nursery
You can never have too many picture frames, right? A cute way to highlight your child’s name is taking picture frames, gluing a piece of fabric to the bottom piece and then attaching the letters of the name on top of the fabric once the frame is put back together. A cute way to add some pizazz to the letters is wrapping them with yarn.
To yarn the letters follow the next steps:
- Glue and wrap: Put some glue to the backside of your letter and wrap the end of your yarn. Allow the glue to dry completely before continuing to wrap to ensuring a strong bond. Once the glue is dry you can wrap and set each new string against the previous string. Apply glue on all sides of the letter for the first few rows, after that apply glue only to the backside.
- Let it dry: Once the letter is wrapped, use scissors to cut the yarn and secure it to the edge by gluing it down on all sides and let it dry.
- Add decorations: Optionally, you can glue some decorations to the letters like beads, flowers or anything you want.
 Dazzle With Flowers
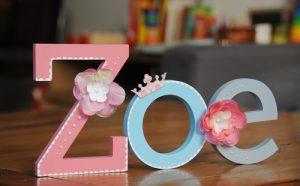
Floral elements are timeless and punctuate any craft with delicacy. If you appreciate an easy DIY, this name craft is for you. First, grab some letters of your desired size (any craft store should have these). Depending on how many flowers you plan to use, you may want to paint the letters before attaching artificial flowers to the characters. Using hot glue, begin fastening the flowers onto the letters in any pattern that you like. Perhaps you’ll fill the entire surface with them, and that is quite alright!
Does Your Name Hang Low?
Letters that hang from a structure on the wall will surely add a fun element to your DIY nursery. With a plethora of options on how to get the letters to hang, this craft will allow your creativity to shine. Here’s how to do it:
- Get a rod or wooden spindle long enough to fit the name without the letters overlapping.
- Design the letters or use premade ones.
- Punch or cut a small hole on the tops of the letters, only large enough for ribbon to fit through.
- Loop ribbon through the letters and then tie them onto the rod.
- Secure the rod on the wall and watch the letters sweetly hang.
Welcome to the Jungle
An adorable and timeless nursery theme is animal print, specifically those found in the jungle. Using the hanging method above, you can jazz up a sign with your baby’s name on it by adding some fun animal print to each letter with paint or fabric. Next, get some wooden or foam cutouts of animals and let them hang with ribbon from each letter. Before you know it, you’ll have a wild masterpiece displaying your little cub’s name.
Overall, a DIY nursery is the way to go. There is nothing more comforting than knowing that your décor is one-of-a-kind, just like your baby. Giving your baby’s name the spotlight it deserves is both fun and gratifying and makes nesting that much more grand.


