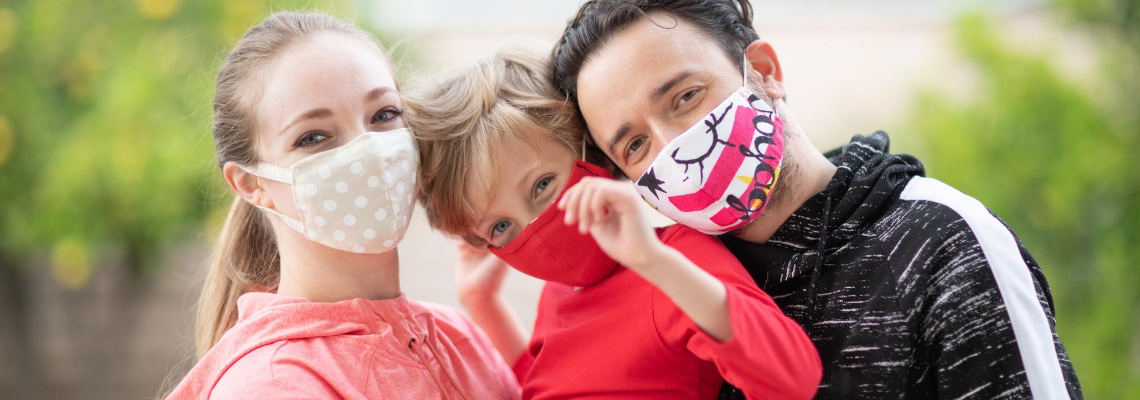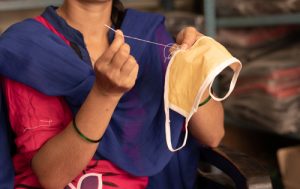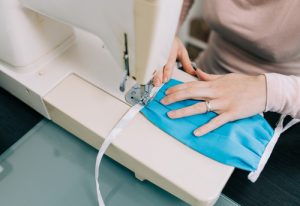
There are various sewing and non-sewing methods to make a DIY face mask. These methods, which include making a face mask using a shirt, are suitable for making face masks for both children and adults.
DIY Face Mask Tutorials:
Method 1: Sewing a Face Mask by Hand
One way to make a DIY face mask is by using the materials you already have in the house. For this project you will need the following:
- A tightly woven cotton fabric
- Eight-inch fabric ties or elastic band
Tools
- Thread and sewing machine
- Ruler
- Sewing pins or clips
- Scissors
Procedure
1. Cut the fabric using the following dimensions:
Adult size mask: Cut a rectangle 8.5 inches wide and 16 inches long. Cut four fabric ties, each 18 inches long, or two pieces of elastic, each seven inches long.
Child size mask: Cut a rectangle 6.5 inches wide and 16 inches long and fabric ties, each 18 inches long, or two seven-inch elastic pieces.
 2. Sew the sides
With the right sides facing, fold the fabric in half. Then, sew along the 8.5-inch edge and leave a five-eights-inch seam allowance. Leave an opening in the center of this seam. This allowance allows you to turn the mask inside out after sewing.
3. Pin fabric ties or elastic
Pin one fabric tie into each corner, placing some of it between the two layers of fabric. In the case of elastic, pin one piece to each side of the mask and stitch one end at the top corner and the other to the bottom.
4. Seal the sides
Seal the remaining sides of the facemask. You can backstitch over the fabric ties or elastics to secure them.
5. Sew the pleats
Make evenly spaced pleats and hold them in place using pins. Sew all the pleats down in the same direction to secure them.
Method 2: Bandana-Style Face Mask
For this project, you will need the following:
- A scarf or bandana
- Two hair ties or rubber bands
- A kitchen roll, a filter paper
Ensure that the bandana or scarf you select for this DIY face mask has thick enough material, preferably cotton.
Procedure
Fold the scarf or bandana in half and fold it twice by the length from both the bottom and the top. After this step, you can add a kitchen roll or filter paper. Ensure that you change it regularly.
Place the hair ties or rubber bands around the strip of materials and fold toward the middle. Fold the closures into one another if possible, and your mask is ready to wear.
Method 3: T-Shirt Face Mask
Materials
- T-shirt
- Paper towel or coffee filter
- Scissors
Ensure that the t-shirt you select isn’t too old and worn out or with holes in it. Select an opaque material, possibly cotton.
Procedure
Cut off the bottom of your T-shirt at a height that is the same length from your nose to slightly below the bottom of your chin. It can be around seven to eight inches. After this step, make incisions into the T-shirt around six to seven inches to create the straps/ties for the facemask. Make an elongated C shape in the fabric to achieve this. Next, cut the straps so that they are suitable for tying around the head. Make adjustments until you have a snug fit around the nose and chin area. You can add your preferred filter paper and hold it in place with a pin.
 Method 4: Sewing a DIY Face Mask With a Machine
Materials
- 10 or 11 inches cotton fabric
- Elastic, rubber bands, strips of cloth or hair ties
- Scissors
- Needle and thread
- Pins
- Thin wire or jewelry wire (optional)
Procedure
Cut the materials to a suitable length and height depending on the dimensions of the wearer. You can use two different materials to identify the front and back of the mask. Layer the fabric pieces on each other. The material facing up should be the inside of the mask. Next, crease over the longer sides of the fabric to make the hem. Stitch over the edges so that the fabric stays in place. Ensure that the stitches are fastened and neat as you sew.
Sew the hair ties or elastic through the hem after successfully creating it. You can use a thin wire or jewelry wire to help shape the mask around your nose.


